Overview
To get started with GameAnalytics, you will be required to set up your Organization. Your Organization functions as a publisher, and can contain one or more studios, which in turn can contain one or more games.
ssdasdas
Organisations will function as a trusted environment for collaboration between your users.
Creating an Organization
To create an Organisation navigate to the button displayed in the screenshot below, while on the home screen, and select “Create Organization”.

Next, a popup will appear, with text describing how Organisations are treated in the GameAnalytics .
To learn even more about Organisations visit the following page.
After you are comfortable with the definition select Next where a second page will appear, where you will need to name your Organization and provide it with a Unique Identifier.

The next step is to provide information about the size of your Organization and where it is based as seen in the screenshot below.

Finally, after you finish this step you will be prompted to review the information you have provided, and you will be allowed to make changes in case something is not as you wish.
After you review the information the final step is to click complete and the Organization will be created.
Managing an Organization
To manage your Organization, select the Gear button present at the top of the Home Page, and select Organization Settings:

After you select settings a new page will appear, with different options on the menu located to the left. From this menu you can change your Organization name, add studios and games, see people that have access to your Organization and also see Studios and Games that have been archived.

Once you are in your Organization settings, you will be able to see all users who have any type of access to your organization, studios, or games. You can select to invite new users or alter existing users.
Inviting users to a Organization
To invite users to be part of your Organization, simply navigate to Users, when in Organization settings, then select the +Invite button.
The next step is to provide the email addresses for the people you want to invite to the Organization and also to select the role that you would like them to have, add them to the list and finally send the invitations.

Roles are divided into:
- Organization Owner: Can manage Dashboards, Explore Queries and Funnels, Access Studio/Game Settings, Create Additional Games, Manage Email Report Subscriptions, Invite users to an Organization, Game or Studio and view Organization API keys.
- Organization Admin: Can manage Dashboards, Explore Queries and Funnels, Access Studio/Game Settings, Create Additional Games, Manage Email Report Subscriptions and Invite users to a game or studio
- Organization Viewer: Can manage Dashboards, Explore Queries and Funnels, View game keys in settings for all games
Remove or change a users role in the organization
To remove a user from your Organization or to change their role, after they have been invited in your Organization, select the three dots that are located to the rightmost part of the user entry, and select Manage permissions.

After selecting “Manage permissions” a new screen will appear allowing you to change the current role of the user and also remove them from the Organization.

When you are happy with the options select done and everything will update.
Adding studios and games
Managing studios and games is one of the most important steps in setting up your GameAnalytics pipeline. To manage your games and studio you first have to go to your Organization settings. After you select the settings you will need to select either Studios or Games, depending on what you want to manage.
To add either studios and games select the appropriate option on the home screen.

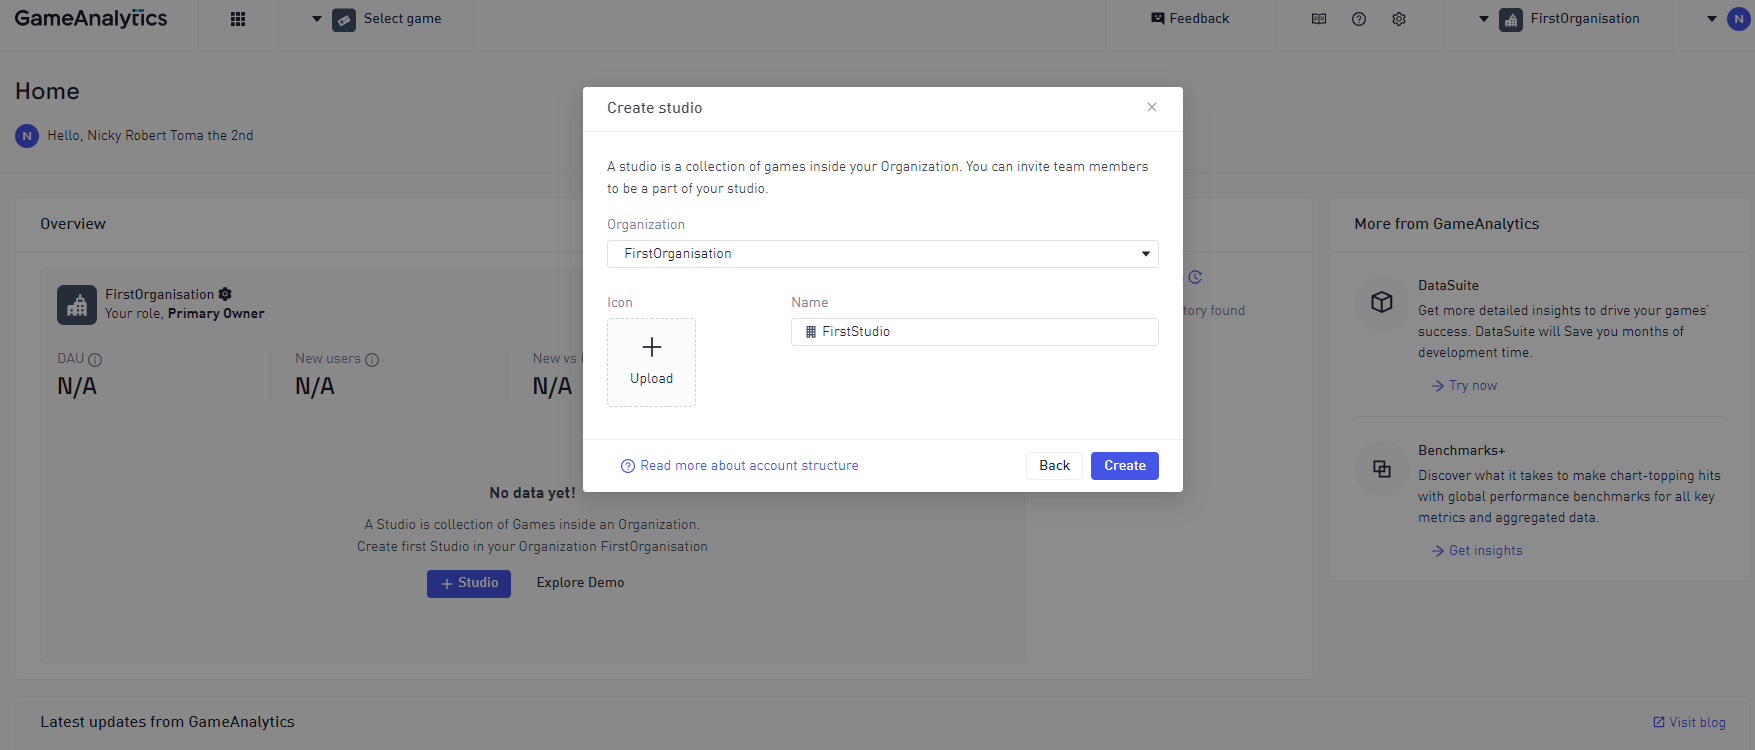
After you select the +Studio button a new pop up will appear, akin to the one that is present when creating organisations. After you are comfortable with the definition you can go ahead and click the Next button. In the next screen you will be asked to select the Organization you want to create your studio in, and also to name your studio, and add an icon to represent it. When you have filled up the information the next step is to select Create and the studio will be created.
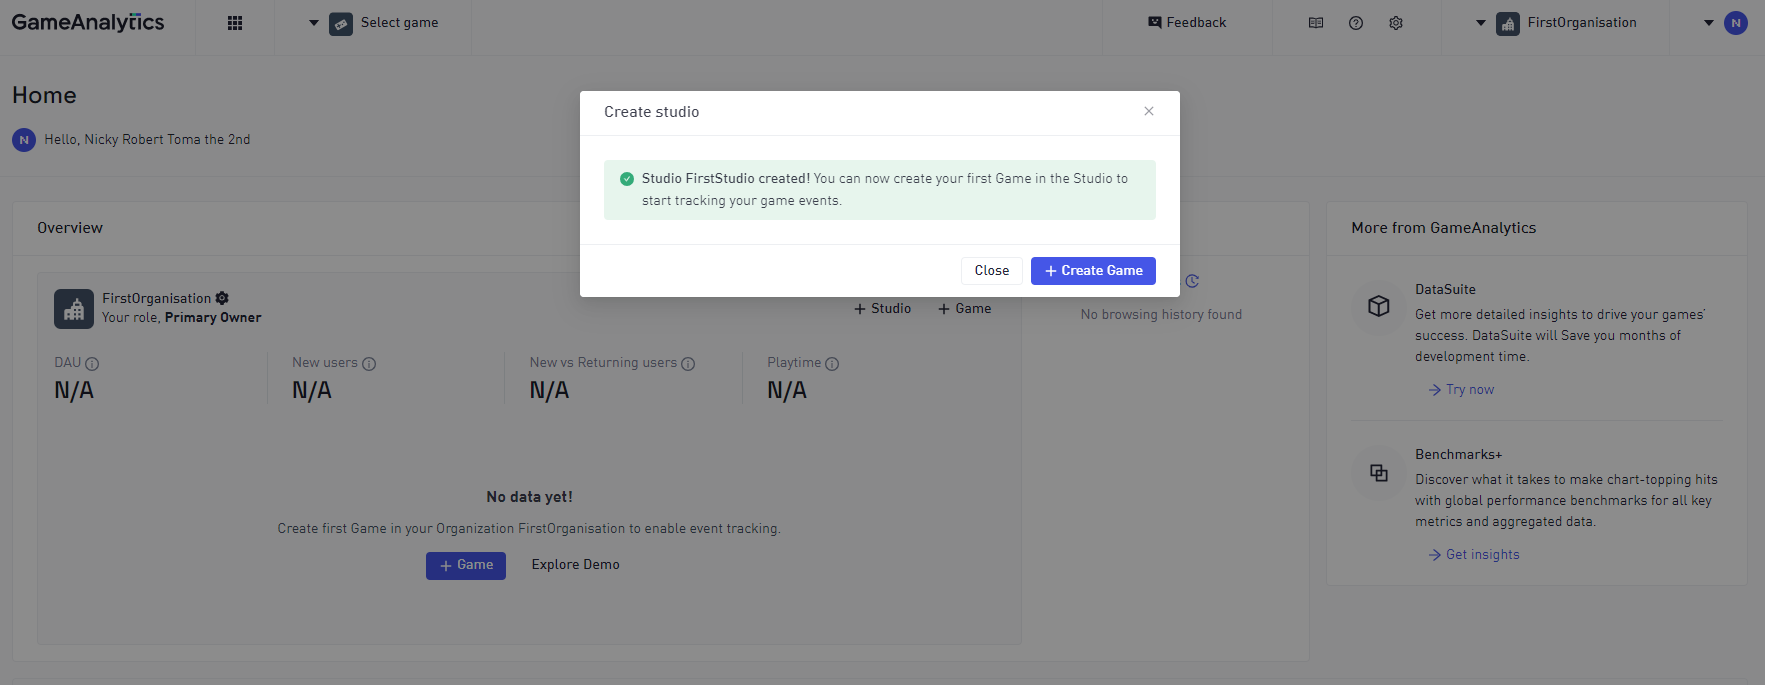
After creating your studio, you will be prompted to create a game if that is your wish.
If you did not add a game after creating a studio, you can select the home screen button to add games, akin to when adding a studio Again, after selecting the option, a pop up will appear with information explaining where games are located in GameAnalytics’s hierarchy of organisations, studios, games. After you feel comfortable with the definition click Next.
To create a game you will need to provide information about what Organization and studio you want it to be part of.
Keep in mind that you cannot transfer games between studios and organisations.
The next step is to name your game, select what SDK integration you performed for it and also select the desired platform.

Subsequently, you need to provide the bundle identifier from your selected store.
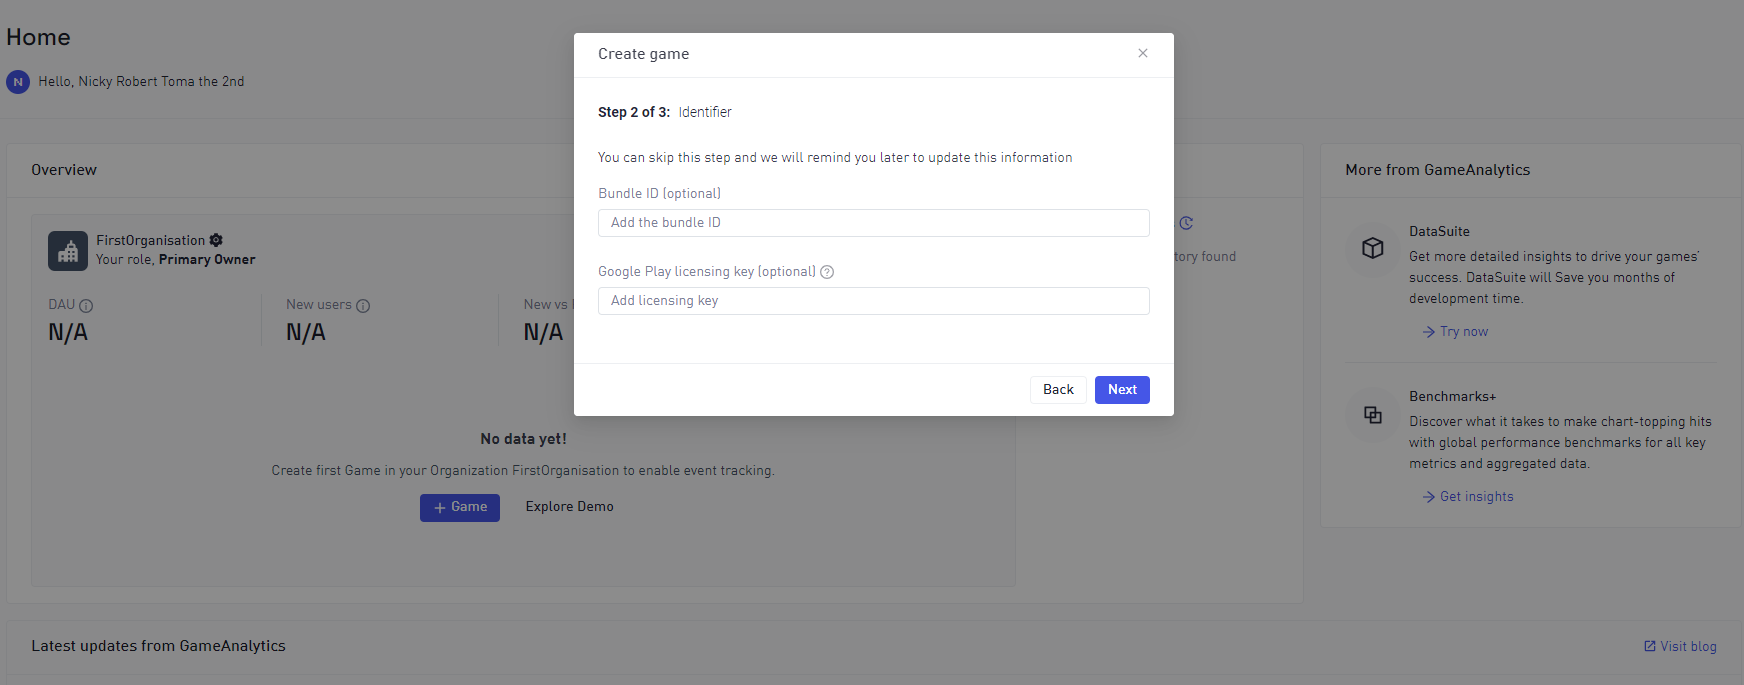
After you provide the information and click next you will be prompted with reviewing the information provided for the game’s creation. If you are happy with the information select Complete and the game will be created.
Archiving studios or games
To archive studios and games you will need to go to Organization settings and select either Studios or Games in the menu to the left, depending on what you want to archive, after which you have to select the three dots next to settings. After selecting the three dots choose the Archive option.

The same procedure applies to how you can archive games. Do not worry about data being lost forever if you archive, you can unarchive a game or studio at any time, by navigating to the Archived list and selecting Restore.

This concludes the procedure of archiving studios and games.